Progress: Basement Kitchen Edition
Saturday, February 08, 2014
We moved into our house in September and I posted about some initial projects. But you might have wondered what else is going on since the entire basement is unfinished. Well, David's been working hard to get it done. It's a such huge project that visible progress in one room took a while, since he's been doing work in lots of rooms.
The kitchen is the farthest along with so I thought I'd show its progression thus far. Here's the side by side comparison and if you want to read how we did it, keep going.
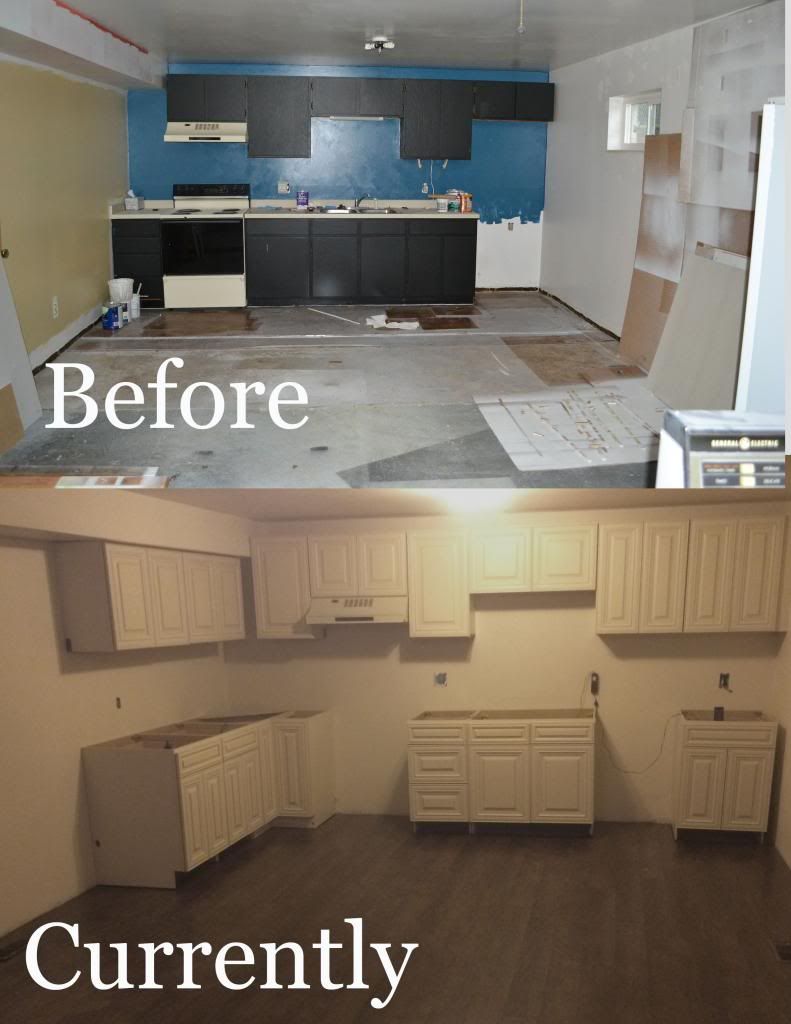
When We Moved In
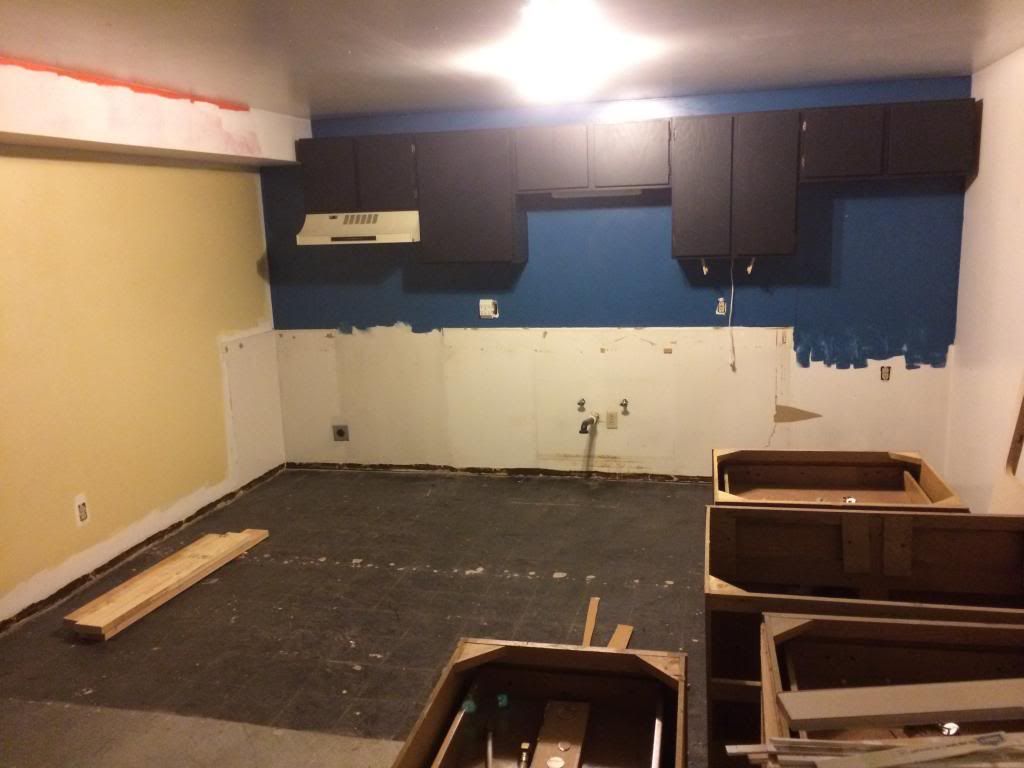
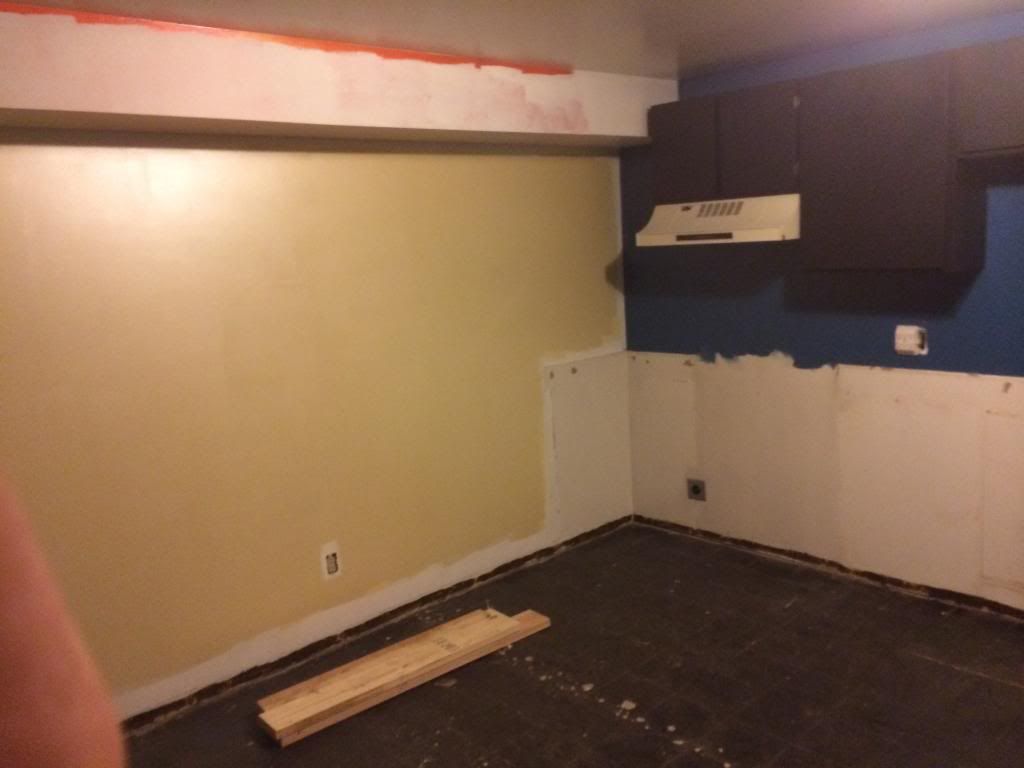
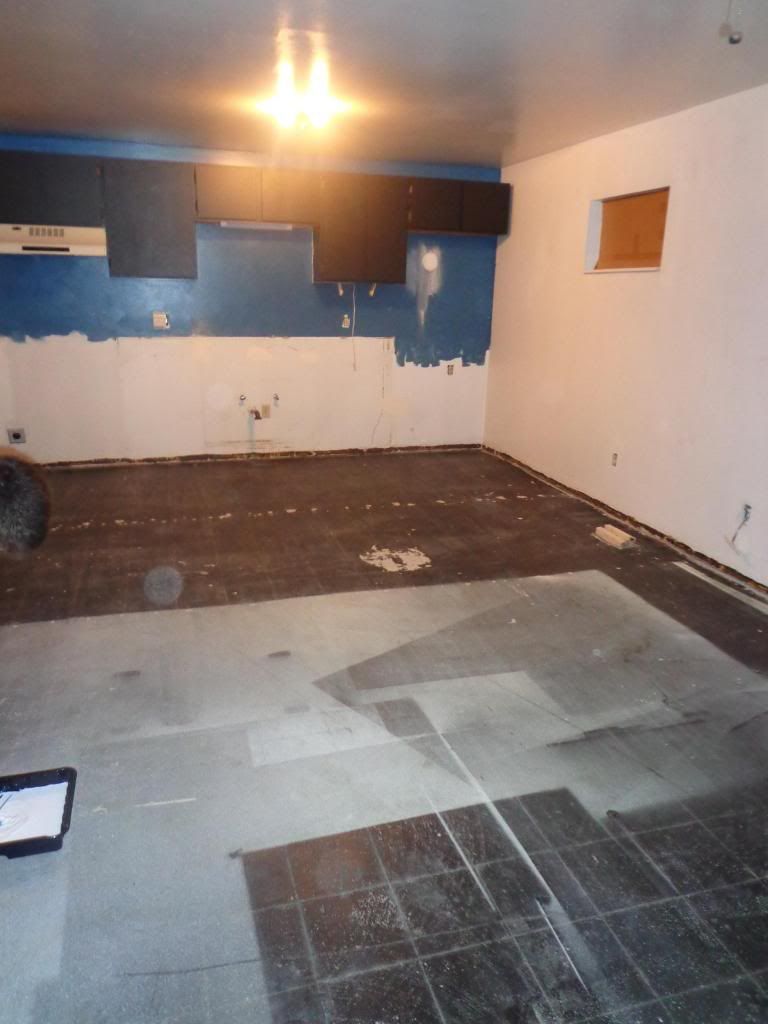
Here's how it looked when we bought the house, I was standing in the middle of the room which will eventually be a kitchen/living room.
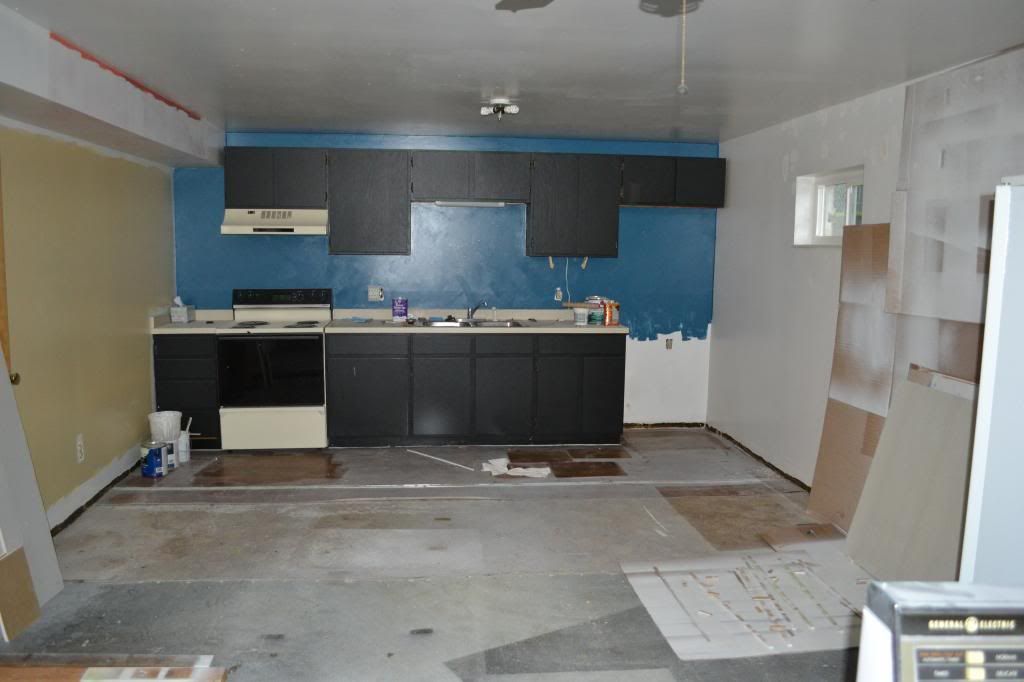
There were some really old black cabinets. And an awful blue color behind them, a yellowish wall to the left and if you look above the yellow wall you'll see a poorly covered orange-painted spot of wall. The space was confusing to look at, but we saw potential in this room.
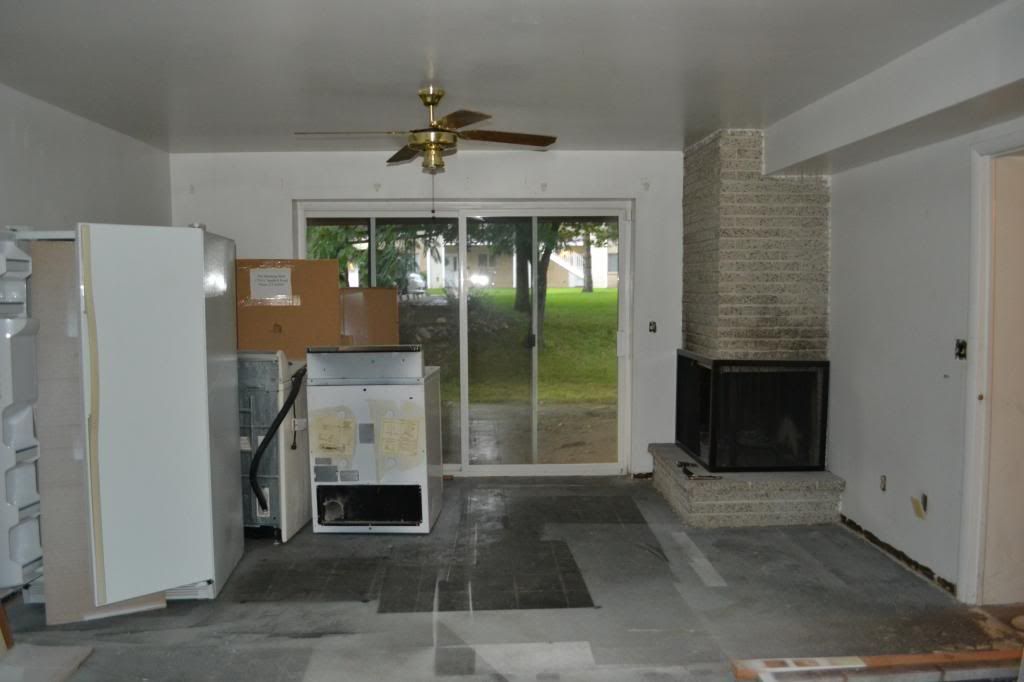
This is the opposite view (the cabinets are behind me). To the right is a wood burning fireplace and to the left are the washer, dryer, and fridge.
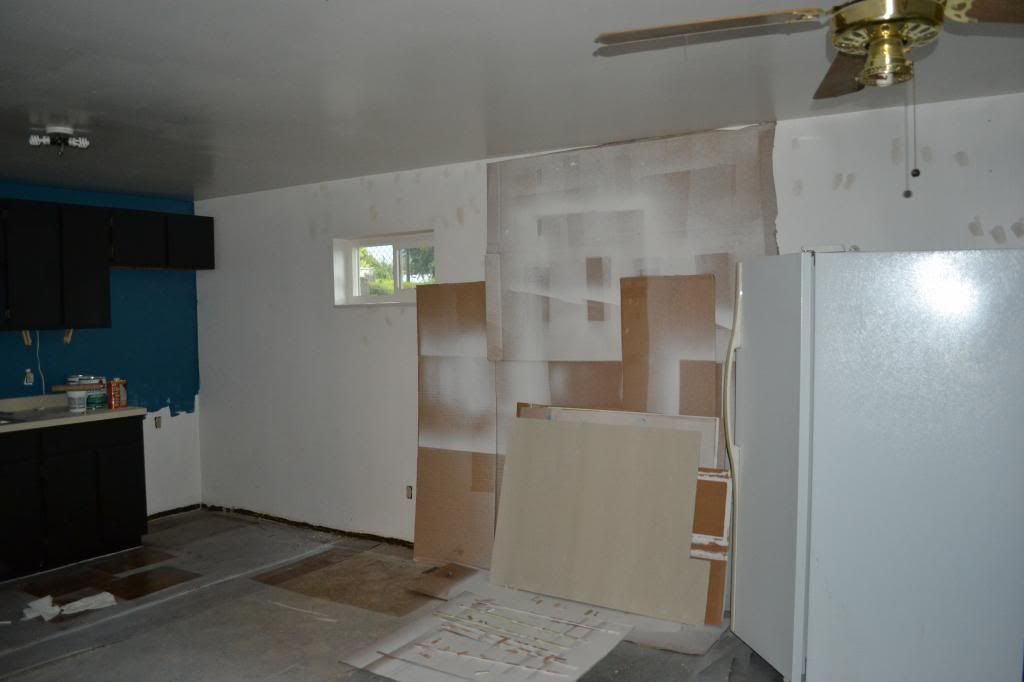
Here is the right wall next to the cabinets. This is the only window in that room.
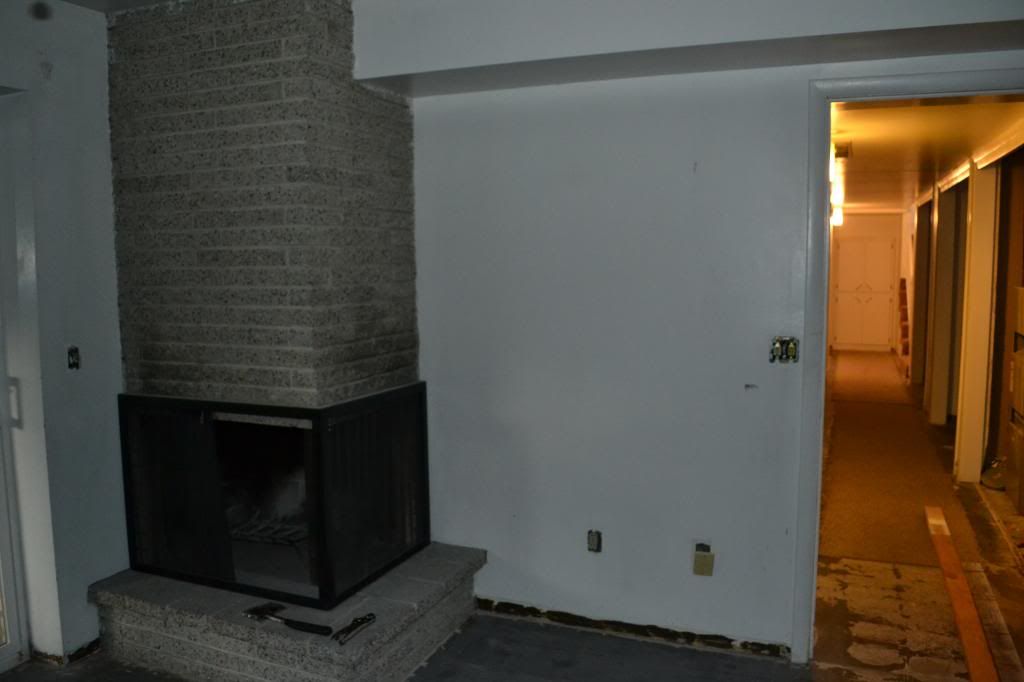
You can see the kitchen is at the end of the basement hallway from this picture.
Taking Out the Cabinets & Leveling the Floor
The next thing David did was move everything out. The concrete floor in that room was uneven to start with (annoying!) so we had to use self-leveling compound. We eventually leveled the 300 square foot room ourselves. It was a lot of fun and super easy- not! I only wish that was the case...
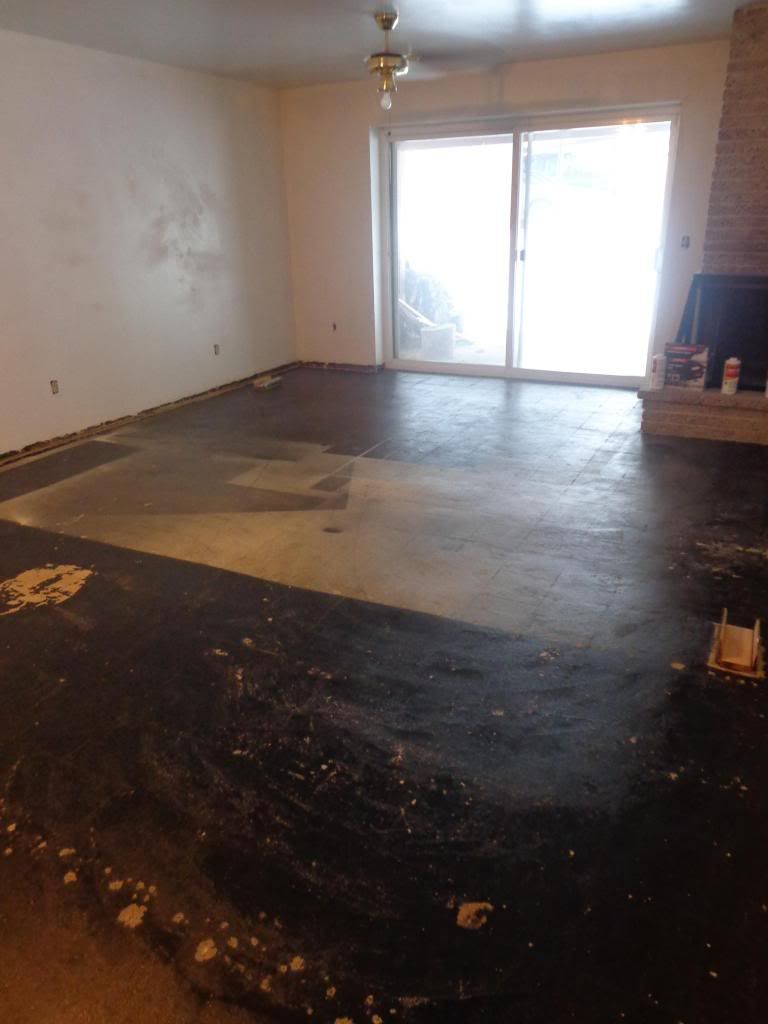
Here's what it started to look like after he ripped out the rest of the vinyl flooring and started removing cabinets.
Ready to level!
Here's David getting ready to put down the epoxy that goes beneath the self-leveling compound.
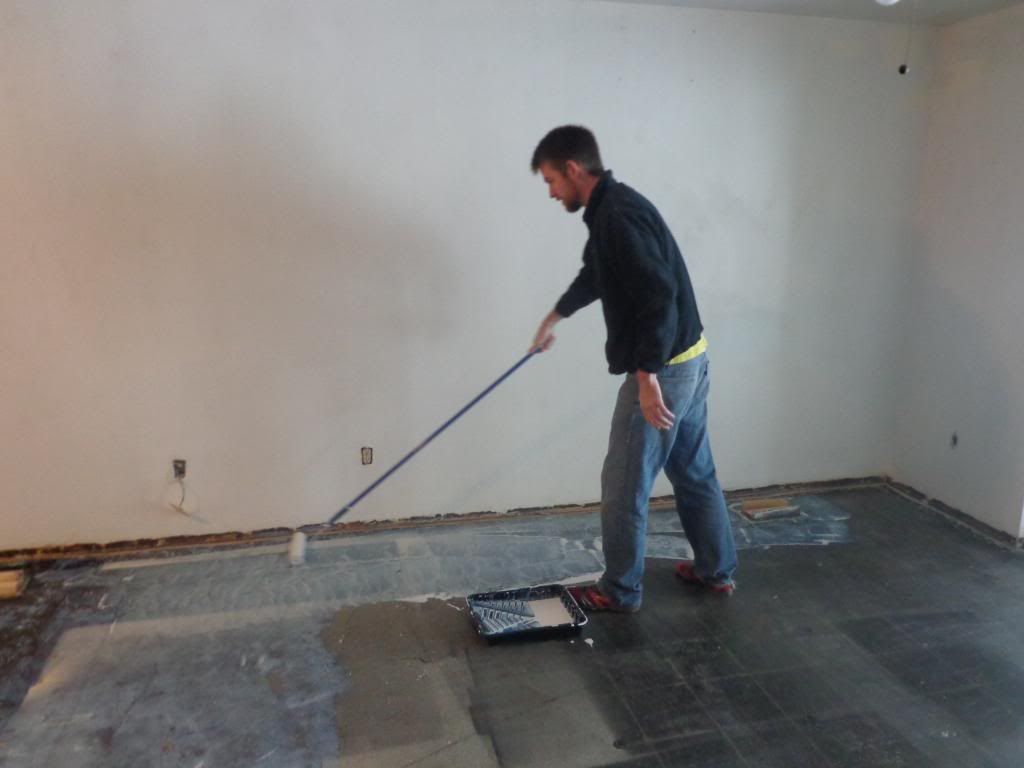

It kind of looked like we dumped Elmers glue all over the floor.

After the epoxy dried, we mixed up our 50 lb bags of the self-leveling compound with water in these buckets.
Let me create a hilarious mental image for you: David fighting to mix the thick compound, which looks a lot like cement mix, in the bucket with the drill while I hold the leaf blower up to the drill to cool it down so it stops smoking and overheating. All while trying to race the clock so the compound we had already laid wouldn't dry until we put it all down. We went through 2 drills from Harbor Freight before we finished this entire project.
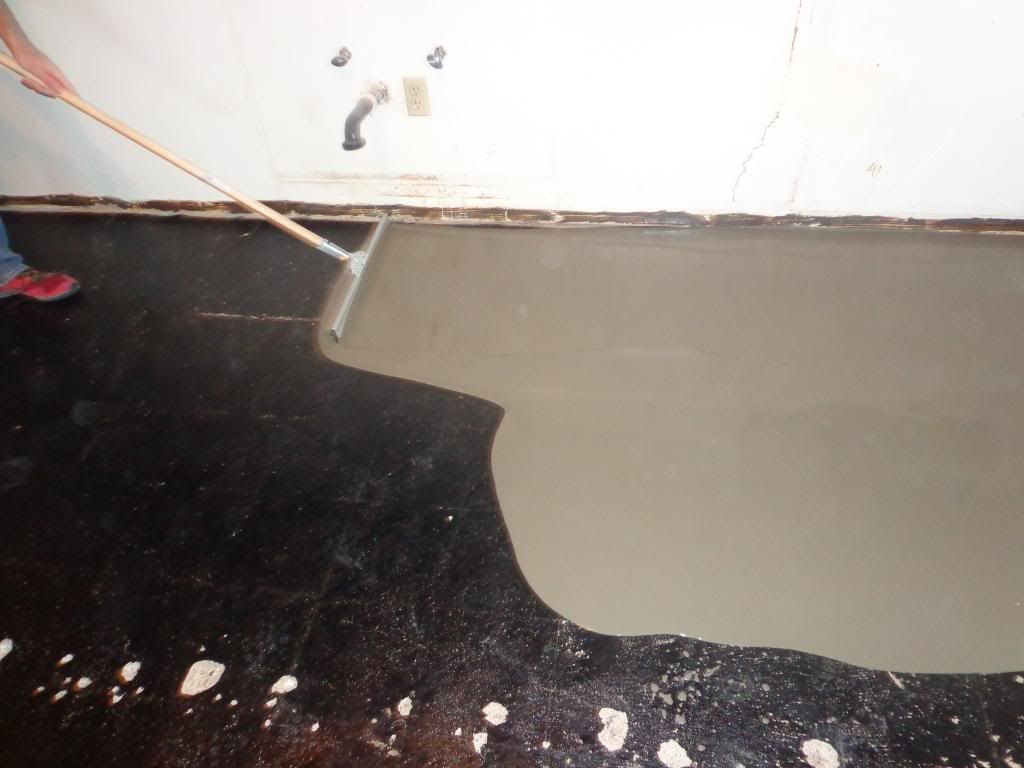
Here's David spreading it out. Let's just say that calling it "self" leveling is pretty optimistic. I think they should rebrand to "do it yourself" leveling.
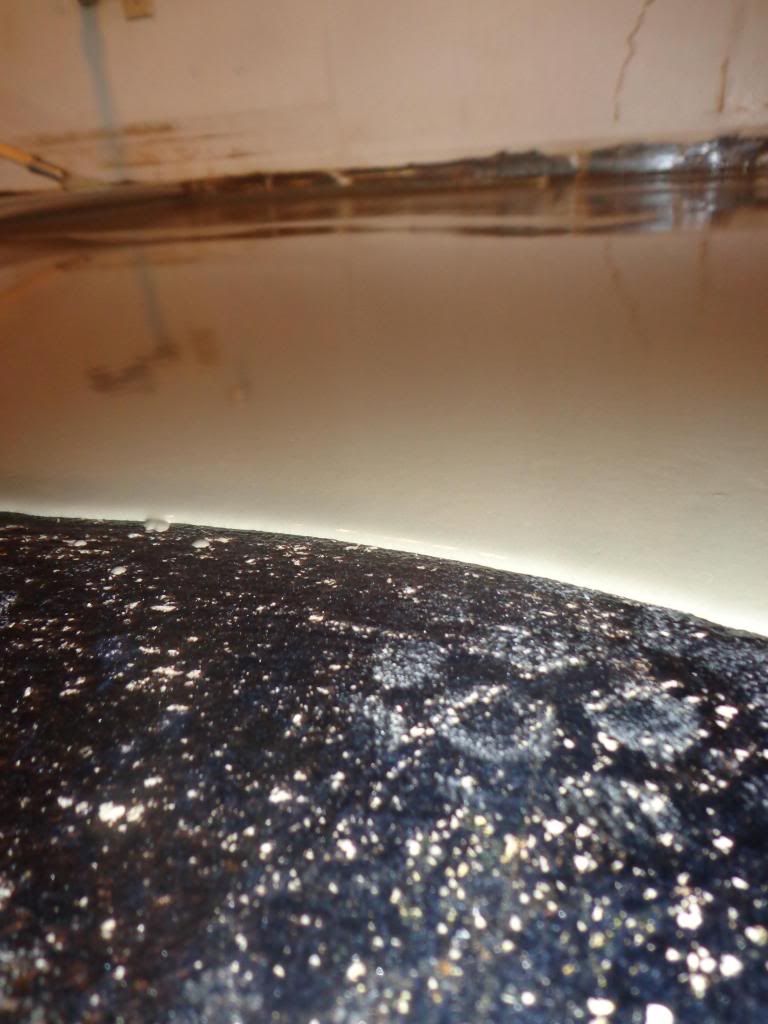
I tried to capture what the goopy substance looked like on the floor.
Then we were close enough with the other rooms in the basement to start thinking about painting. The plan was to paint and then put up new cabinets. So David ripped down the rest of the cabinets and we had a kitchen planning Family Home Evening.
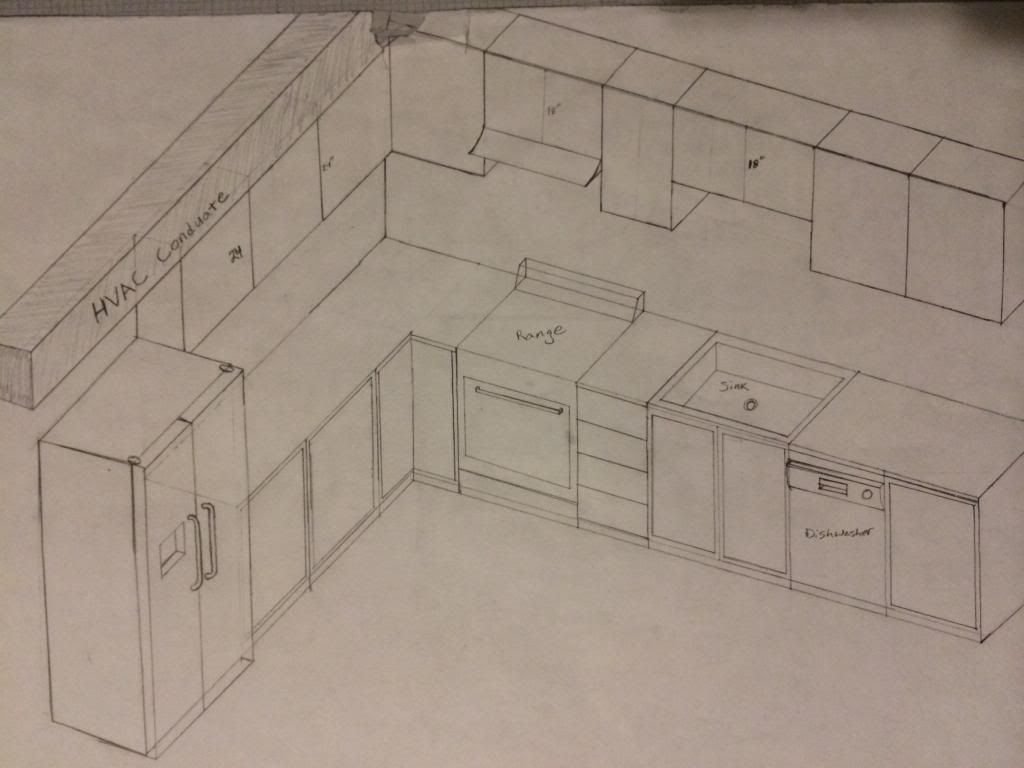
With the help of David's awesome space planning skills and my interior design book we decided on an L-shaped configuration. Here's David's sketch of what it would look like.
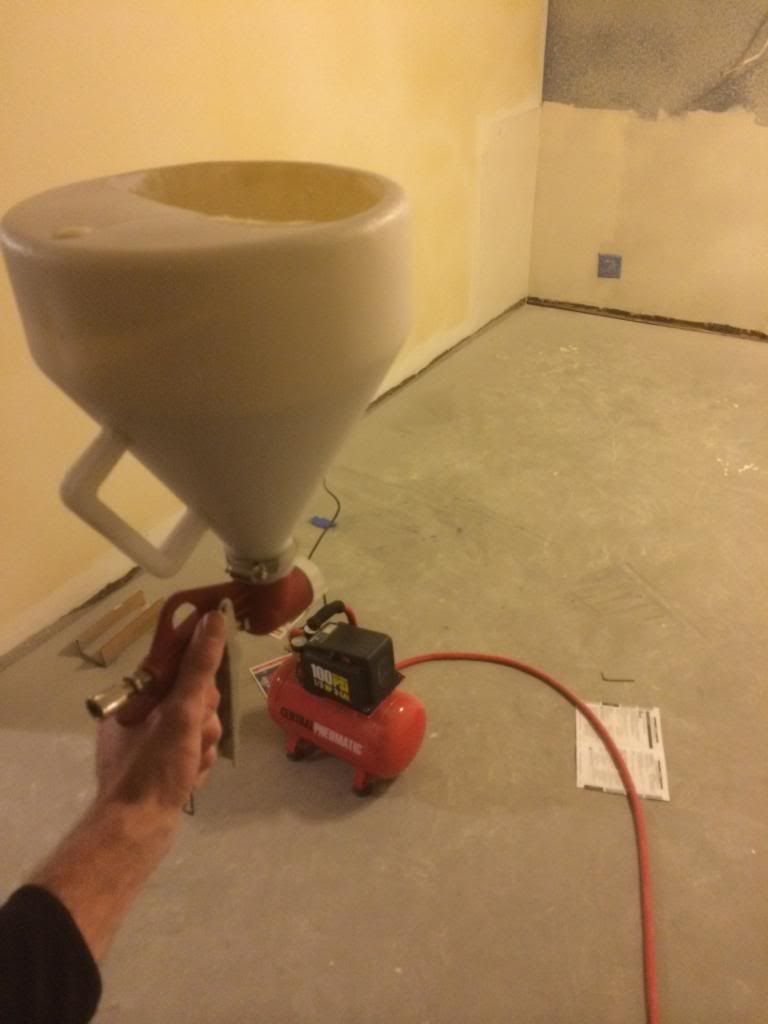
Before painting, David bought an air compressor and texture gun at Harbor Freight and textured the entire basement. That in itself took a day and a half.
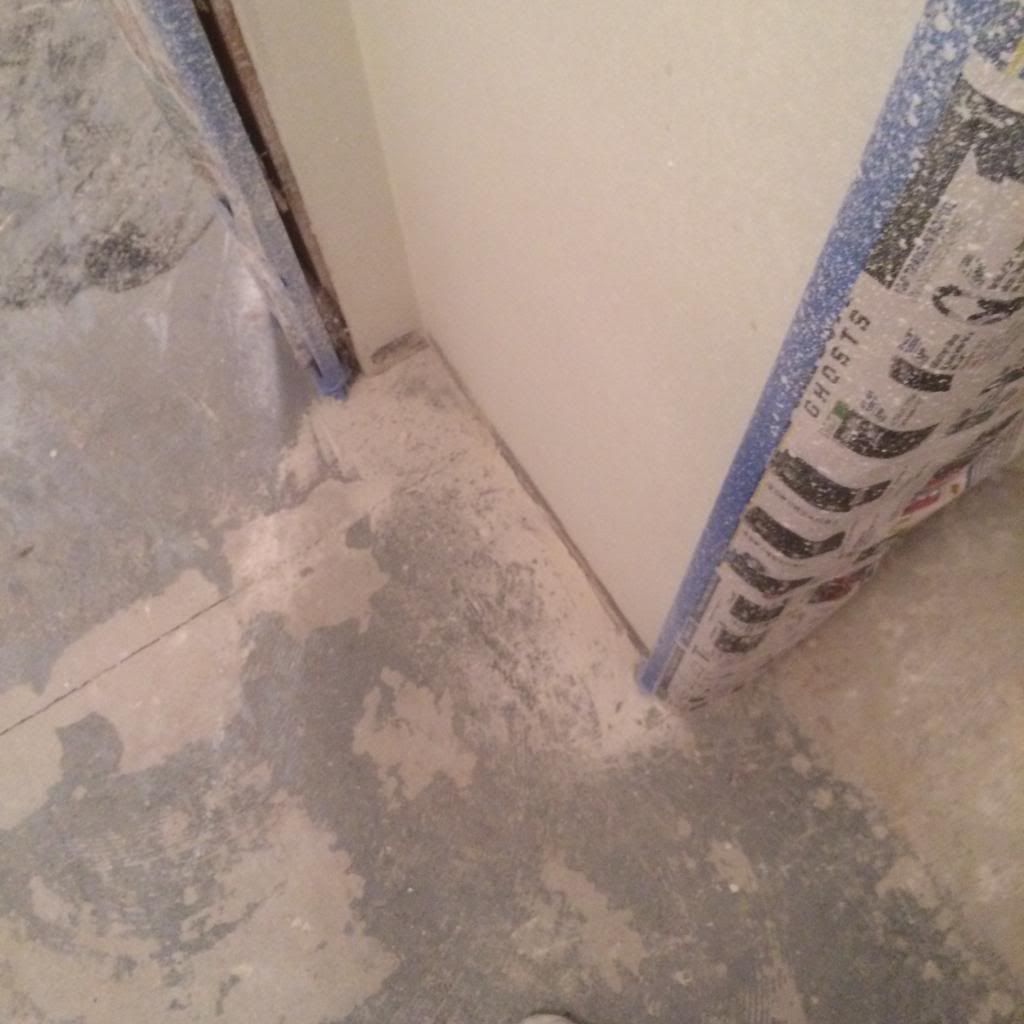
The most time consuming part of painting was definitely taping all the areas where we didn't want texture and wall color.
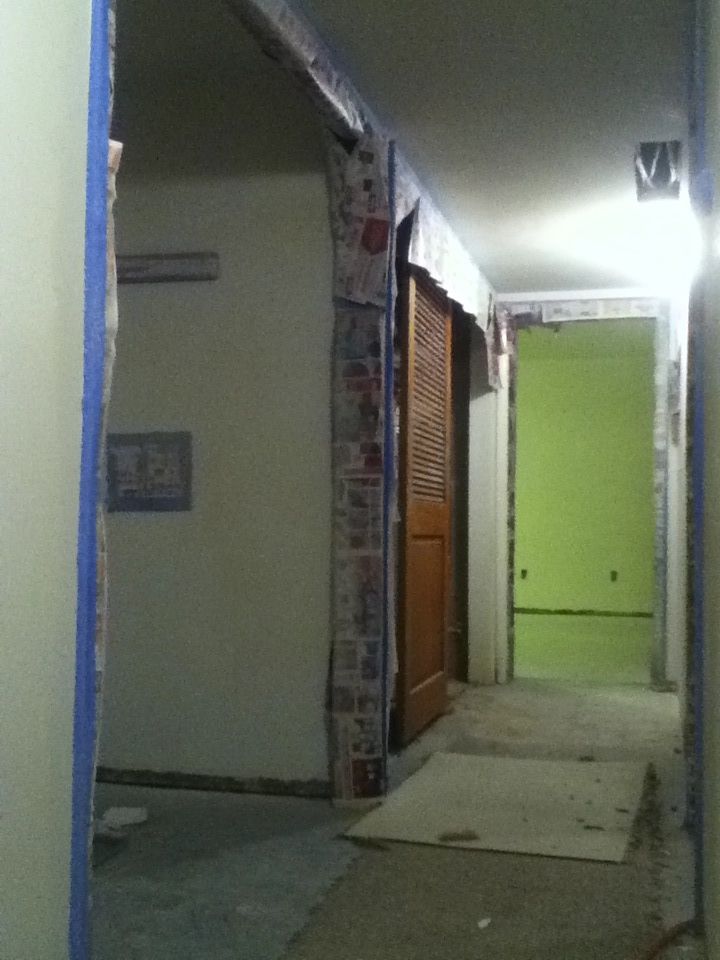
Luckily we save newspaper for our fireplace, so we had a bunch when it came time to cover everything.
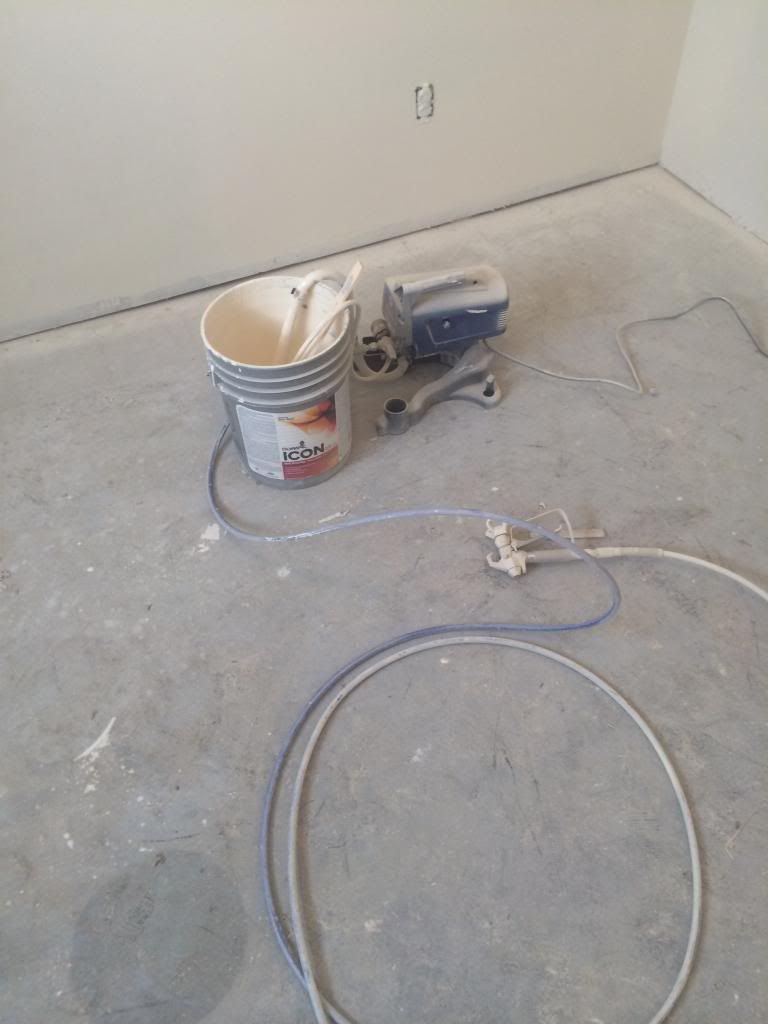
After texturing the walls, we choose a paint color (in the bucket) and started spraying the walls. If you catch David when I'm not around he'll show you an embarrassing video of me wagging my behind as I try to spray the walls evenly.
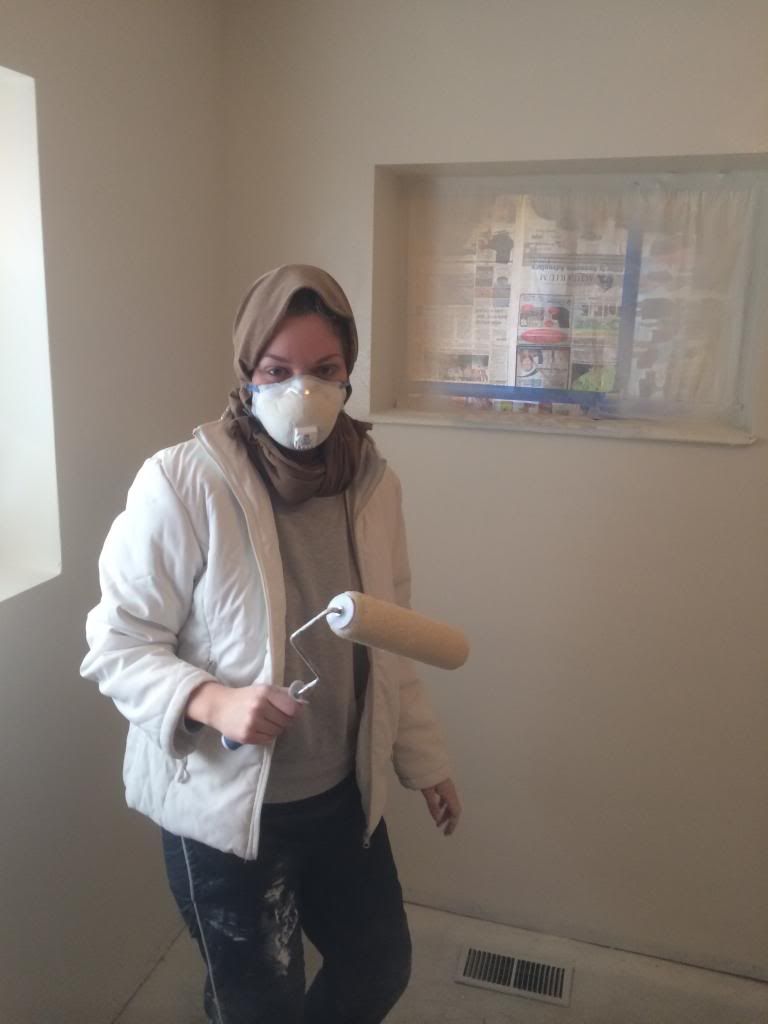
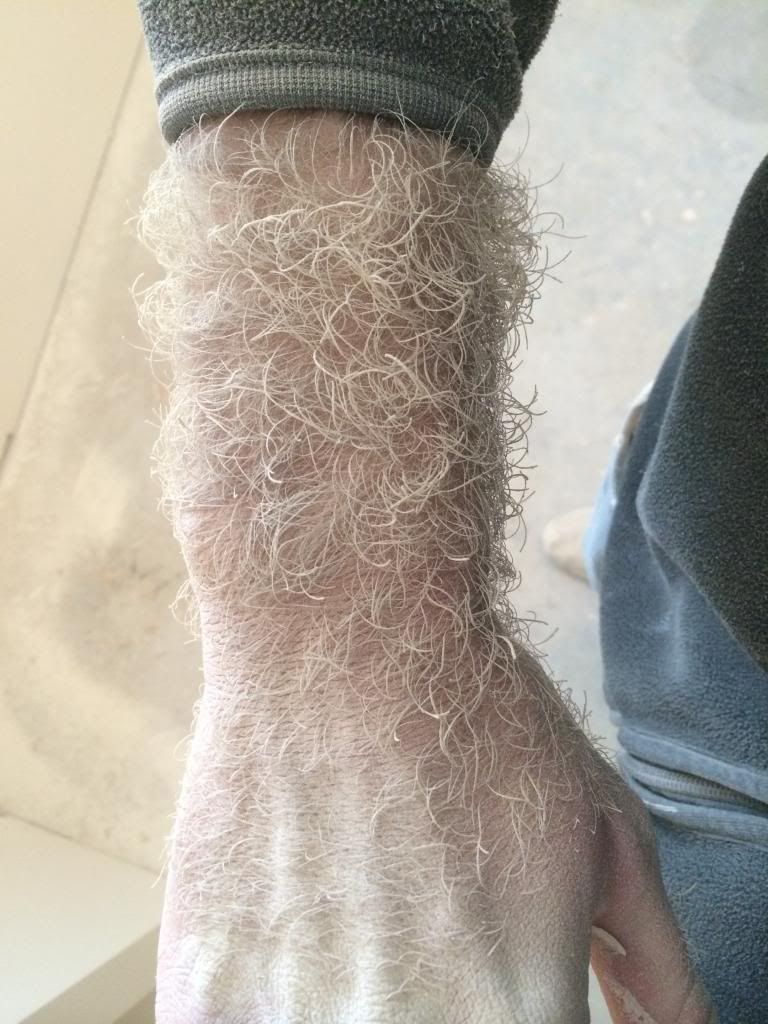
Here's my paint attire. It was cold outside so we didn't open many doors and just stuck with the masks. Look at David's arm to see what happens when you don't cover up.
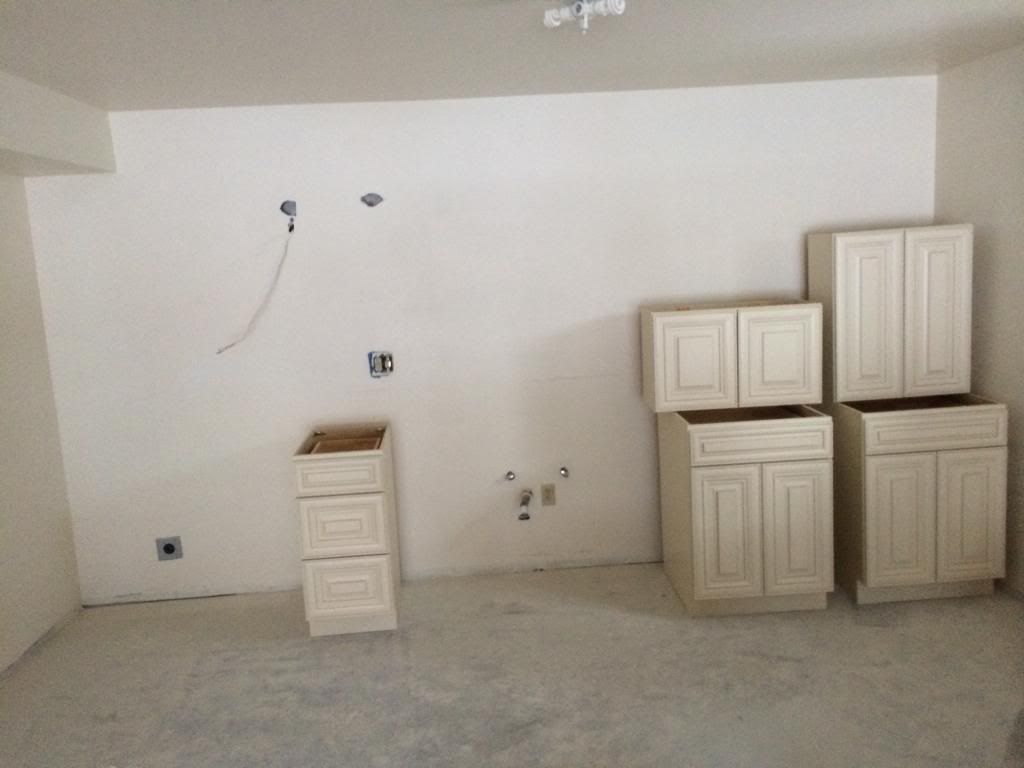
We finally finished painting and it looked so much better downstairs. By this time, our 850 lb pallet of cabinets had arrived on a semi from back east. David wasted no time assembling them.
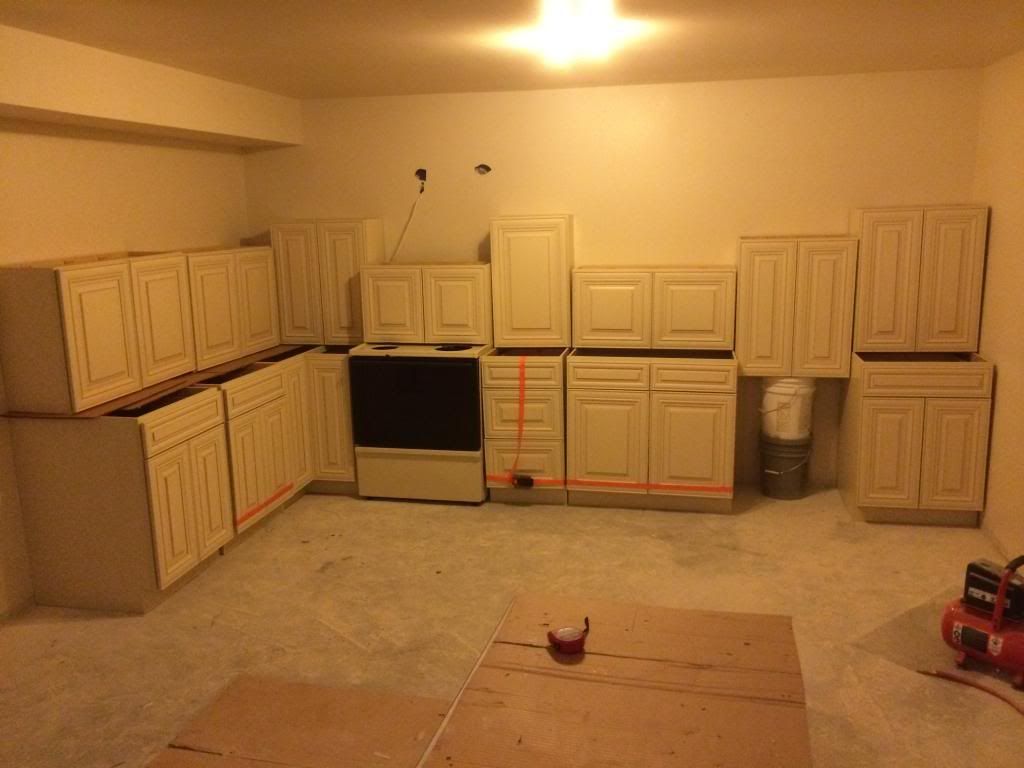
For assembly he used a finish nailer and wood glue.
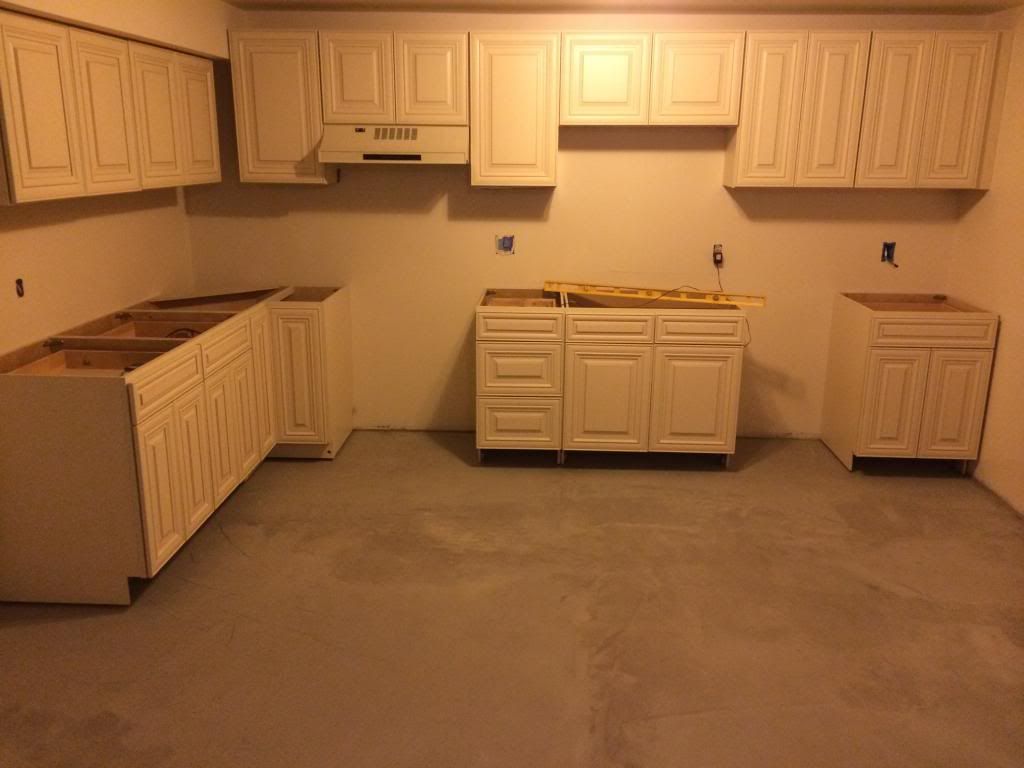
He bought a leveling system that he attached to the bottom of the cabinets for when we put the countertop on. *also this is what the leveled floor looked like
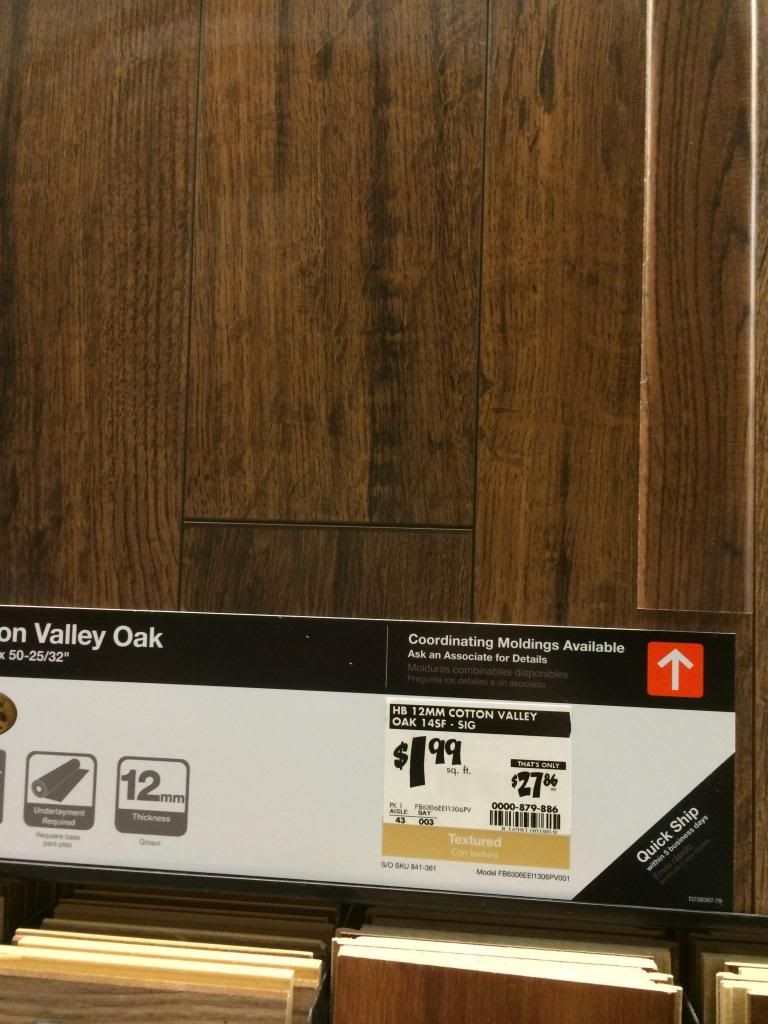
Then we headed to Home Depot and started looking at flooring samples like this one. Originally we were going to go with bamboo flooring like upstairs. We decided against it when we only had 150 square feet left from the previous owners and Costco doesn't sell that brand anymore.
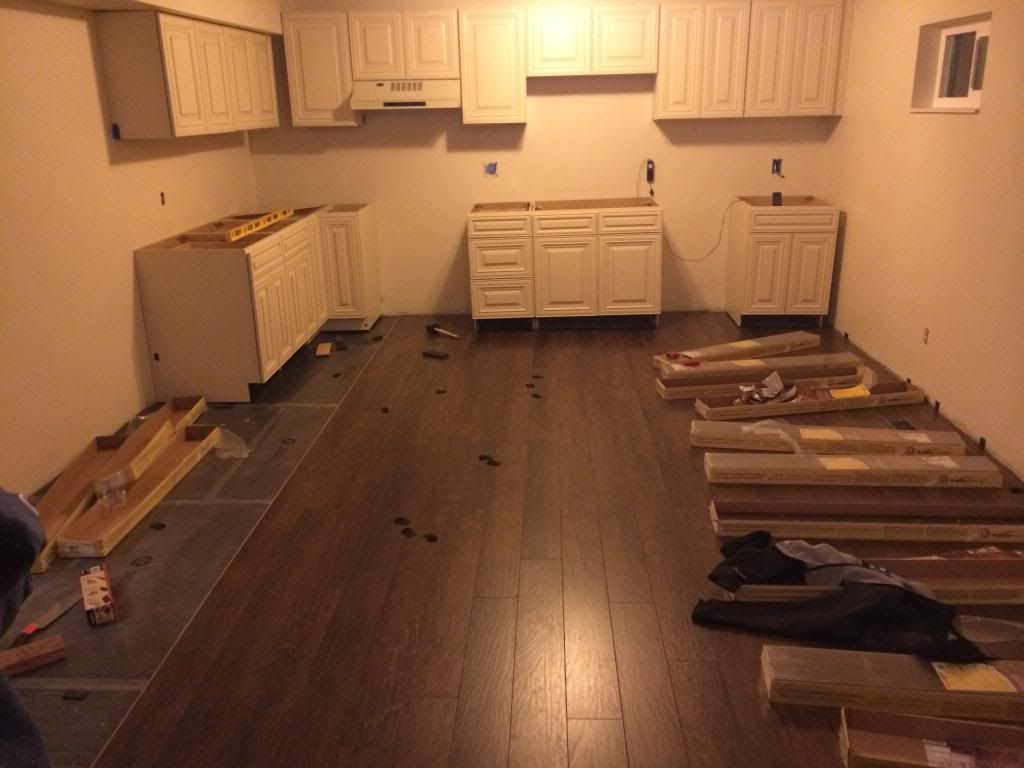
We picked a flooring and David got to work installing it.
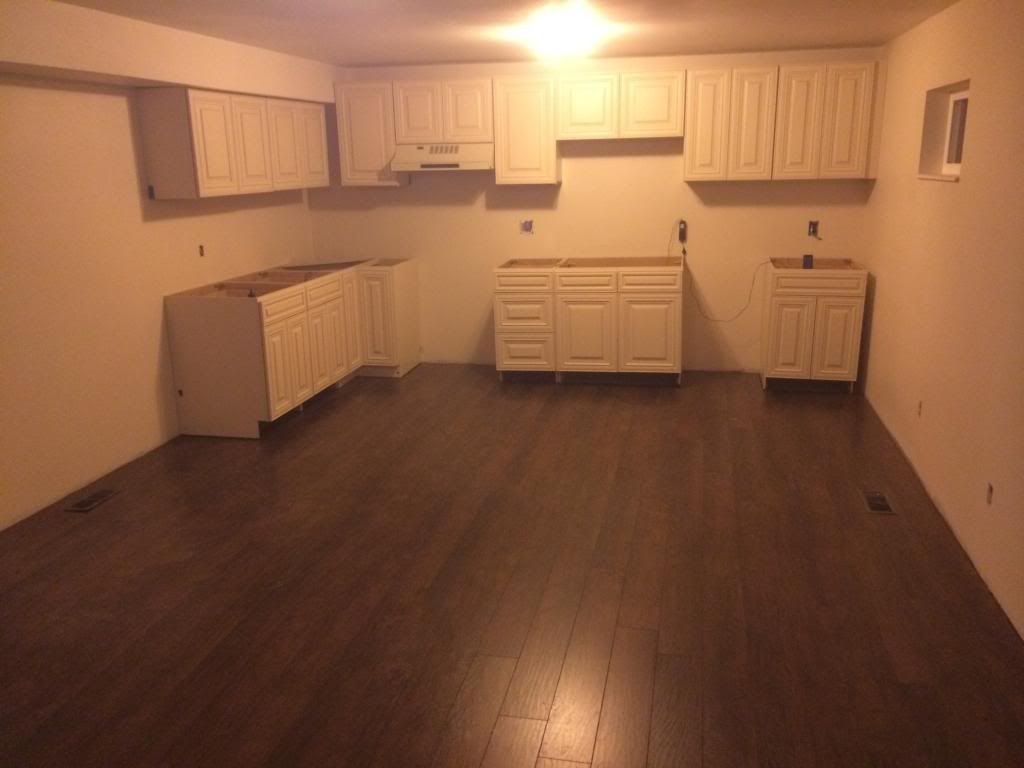
Here's the finished product! We started looking at countertops, sinks, and dishwashers. Today we bought light fixtures and new outlets and outlet covers. It's so amazing to see our plans become reality.
I know I've said this previously, but I can't miss every opportunity to say it again. David is the hardest, most determined worker who always finds solutions and figures out how to install and build whatever is needed. Besides framing, drywalling, and building closets in the den, he also installed a dryer vent to the front porch (he cut through brick!), and now he's close to almost finishing the kitchen. I'm so grateful I'm married to such an unstoppable guy.


1 comments
Wow, that is looking so awesome!! You two are incredibly talented, can't wait to see the finished product!
ReplyDelete