DIY Fabric Headboard
Wednesday, April 06, 2016
My Aunt Allison is a pretty crafty lady. Crafty as in she makes wreaths like a boss and constantly has cool projects going. When she told me she wanted to make a fabric headboard I said, "Count me in!" because I happen to LOVE fabric headboards. I've looked at them in stores and they can be pretty pricey. Alli found a tutorial that looked pretty user friendly and I felt confident that David had the tools we needed.
So here's the step-by-step in case you too feel the need for a fabric headboard. I think it ended up costing around 60 bones (the blogger said she made hers for $20... she must be thriftier than us). Also I would pick a fabric color that contrasts with the wall color if I was doing this again.
MATERIALS NEEDED
One piece of plywood sheathing cut to size (Home Depot/Lowes will cut it to size for you for free in the store, just ask a worker)
One 2' by 4' (for the legs)
Screwdriver & screws (to attach the legs to the plywood)
Mitre/chop saw (to cut the legs)
Staple gun + Staples
Upholstery Fabric
Padding/batting
Buttons
STEP 1: DIAGRAM IT!
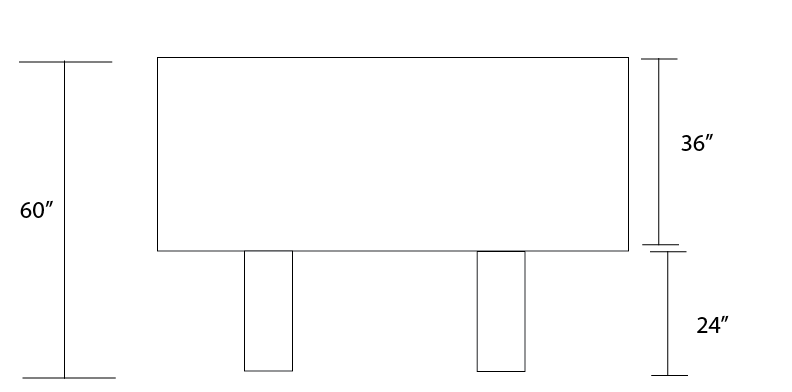
Figure out the width of your bed and how tall you want the headboard to come up. The basic idea is to figure out how tall you are going to make the headboard so you can buy the right amount of fabric.
I took the diagram with me when I went shopping, which was really helpful. We got our fabric at Hobby Lobby because they had some sweet sales. We got the wood at Lowes.
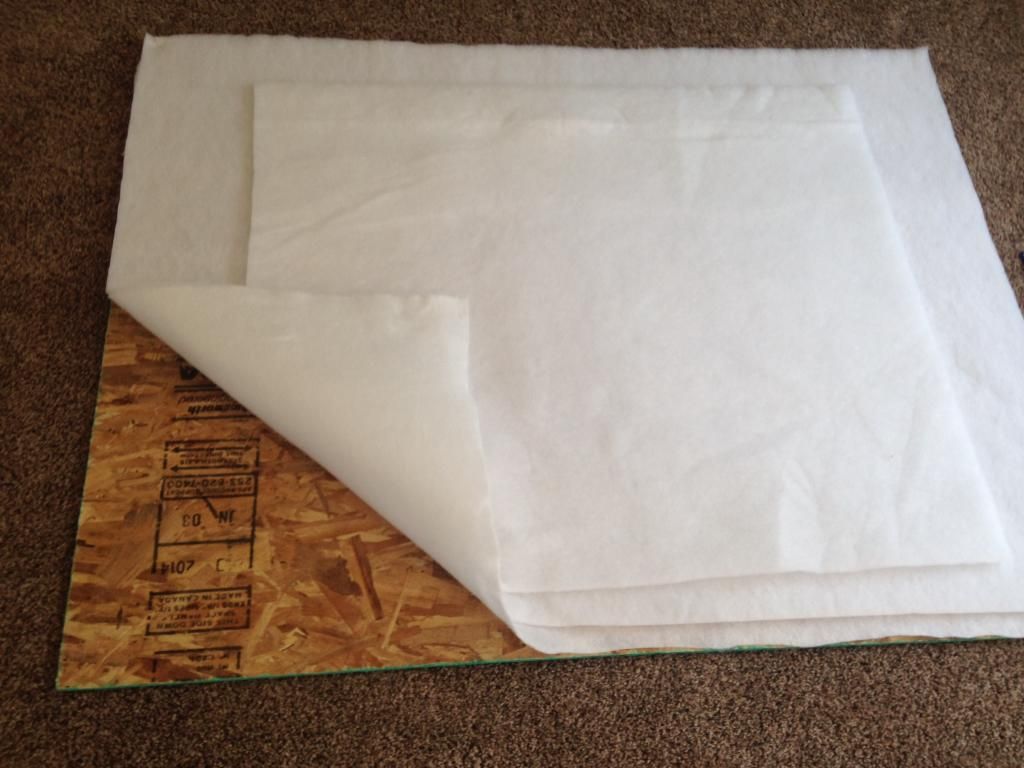
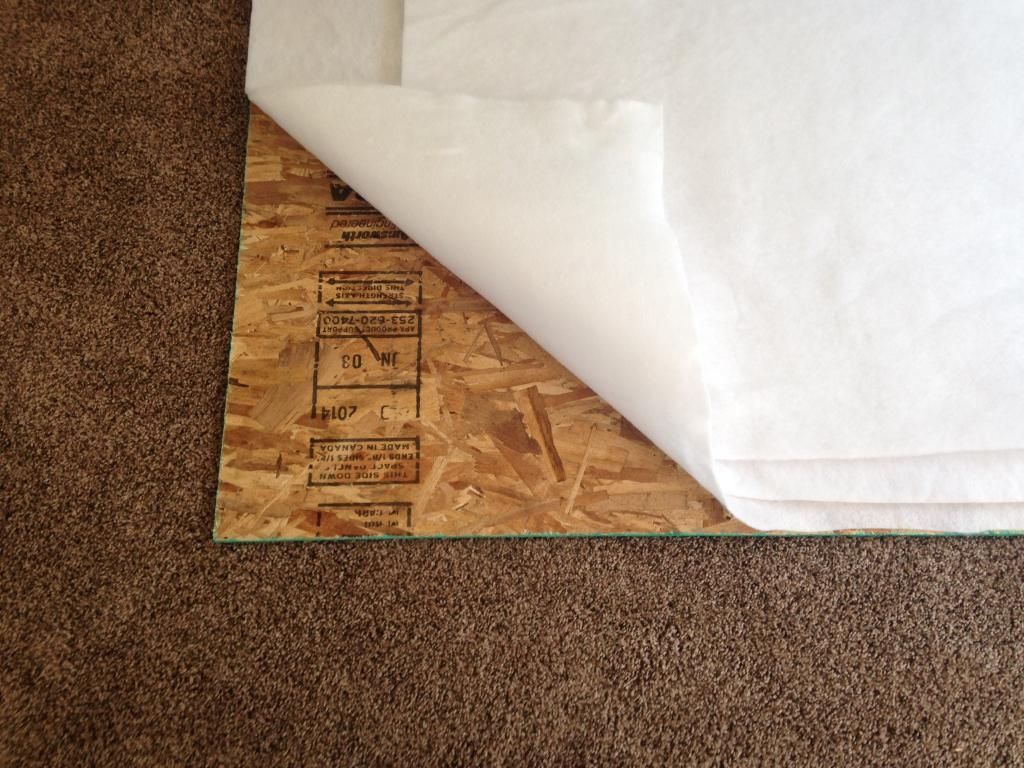
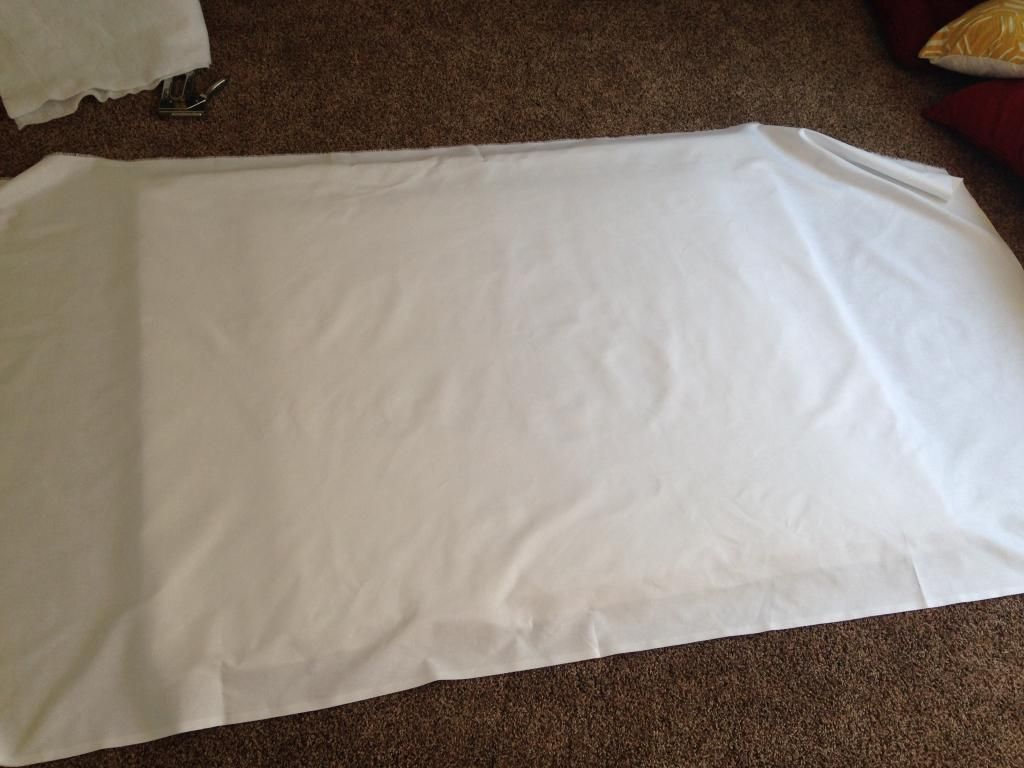
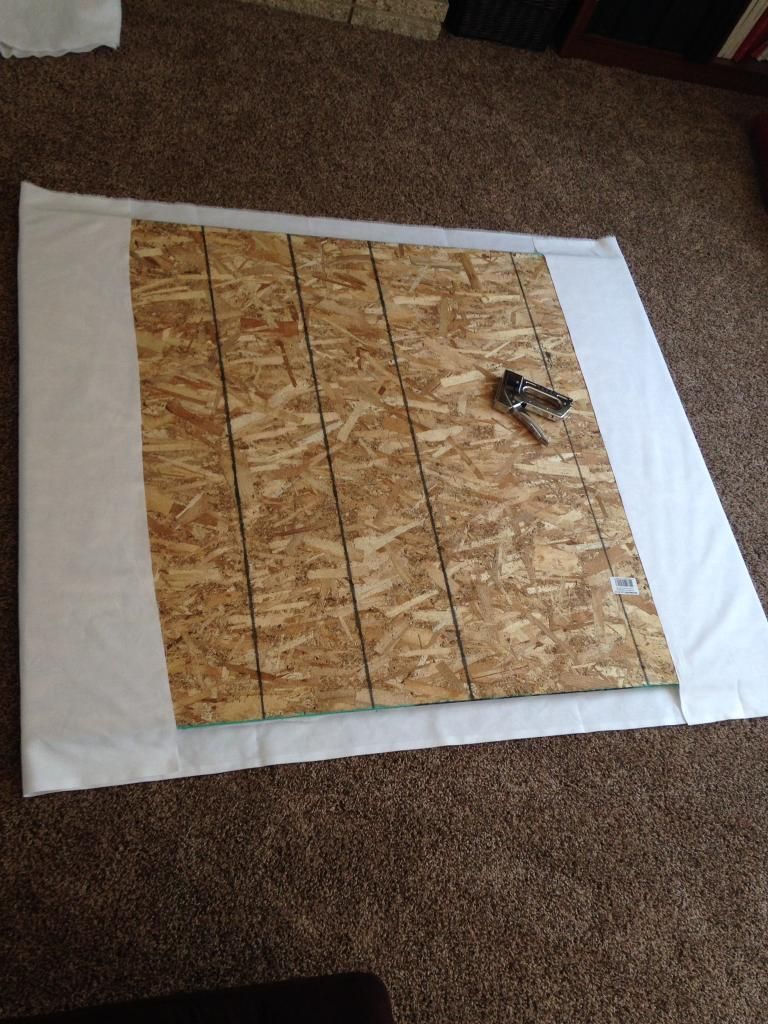
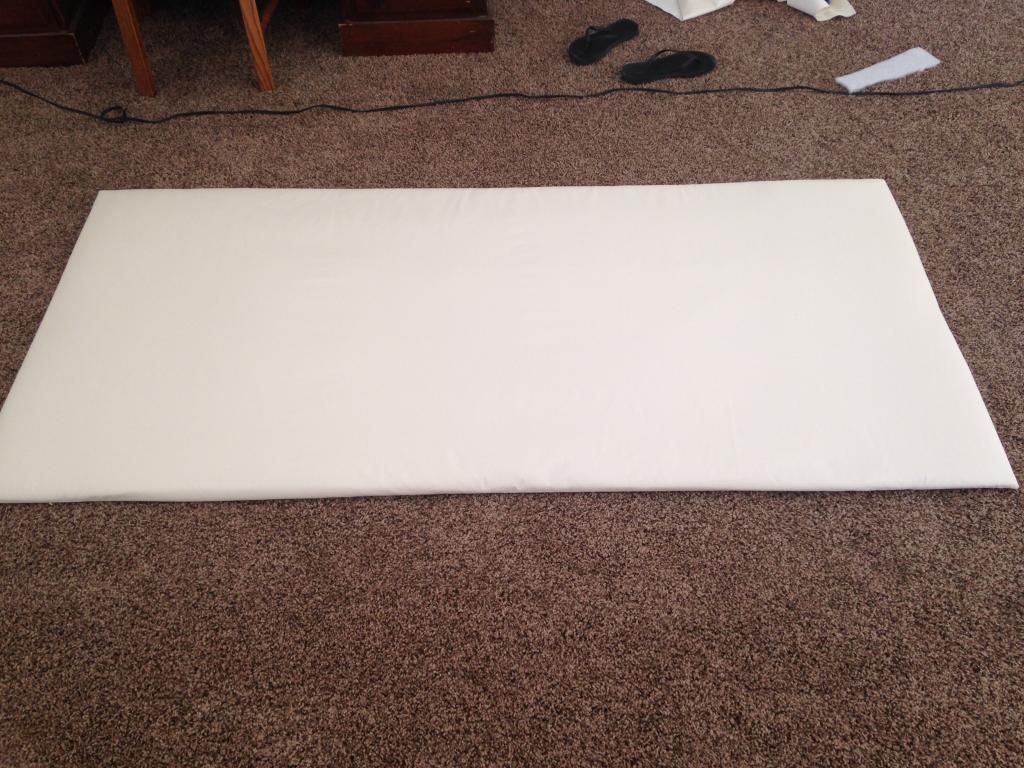
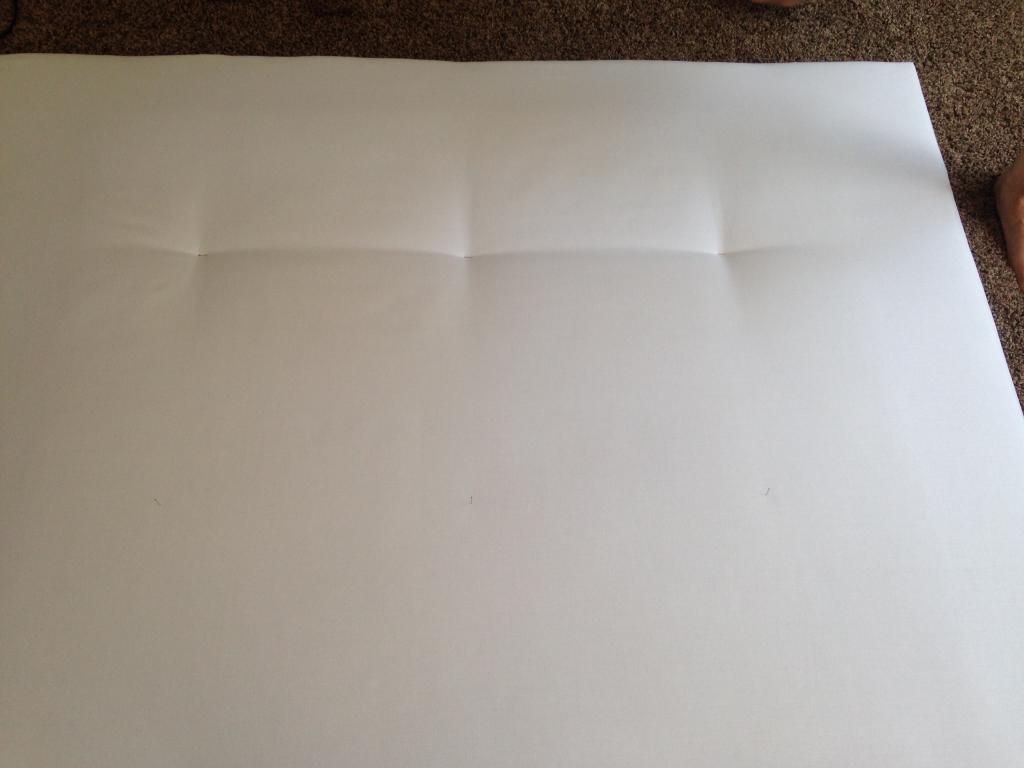
STEP 2: COVER THE WOOD!*
Cover your wood with the padding. In retrospect I wish I had bought more padding, but it's expensive so I would spend more time shopping deals or finding alternatives.
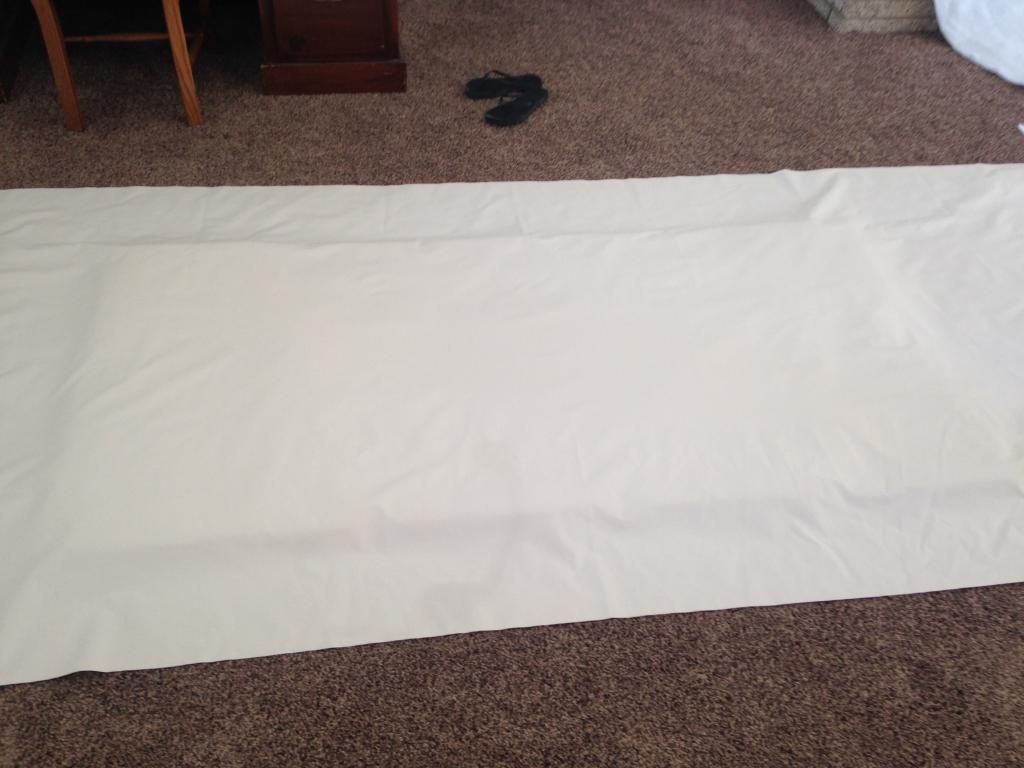
Then you cover the wood and padding with the fabric, pull it tight and anchor it to the back with staples.

It's kind of tricky to pull the fabric tight enough so the front looks smooth and taut.

*see step 2b so you don't make the mistake we did!
Step 2B: DON'T FORGET TO PUT THE LEGS ON!
We had to go back, take off the fabric, screw on the legs and then restaple the fabric back on. Opps. Really you should screw the legs to the headboard, put the padding and fabric on and cover it.


You have to cut the fabric so you can wrap it around the legs and staple it down.

Then after you attach the 2 by 4s to the plywood and cover them with the padding and fabric, you can precede to Step 3 (placing the tufts and buttons).
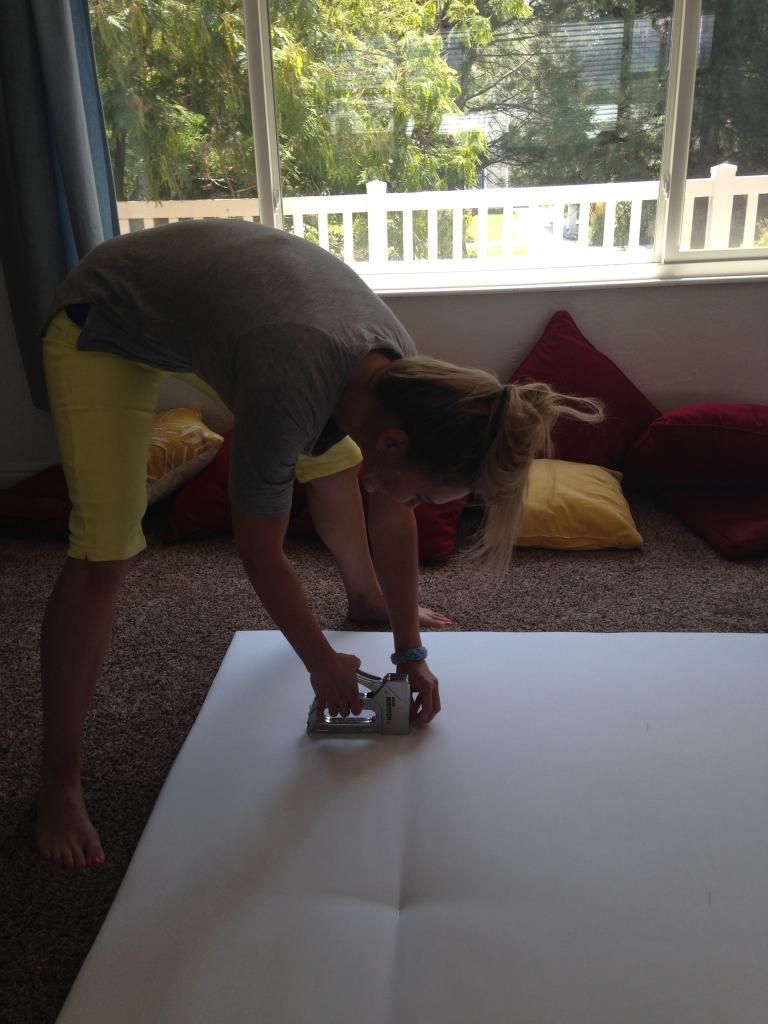
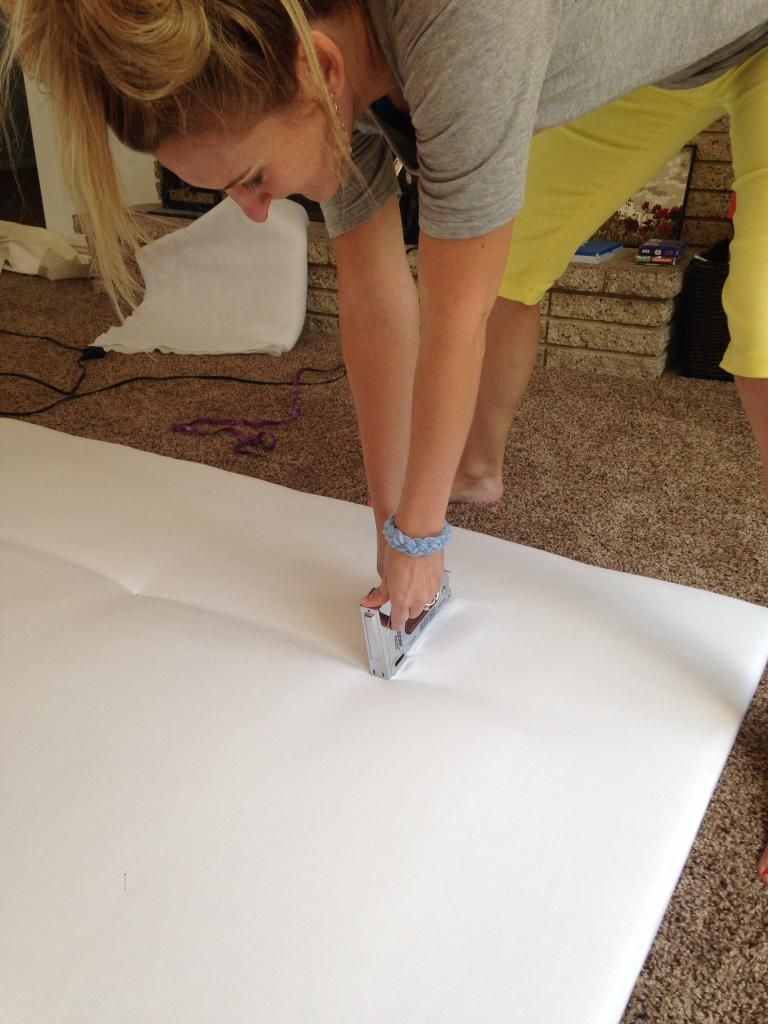
STEP 3: MAKE TUFTS
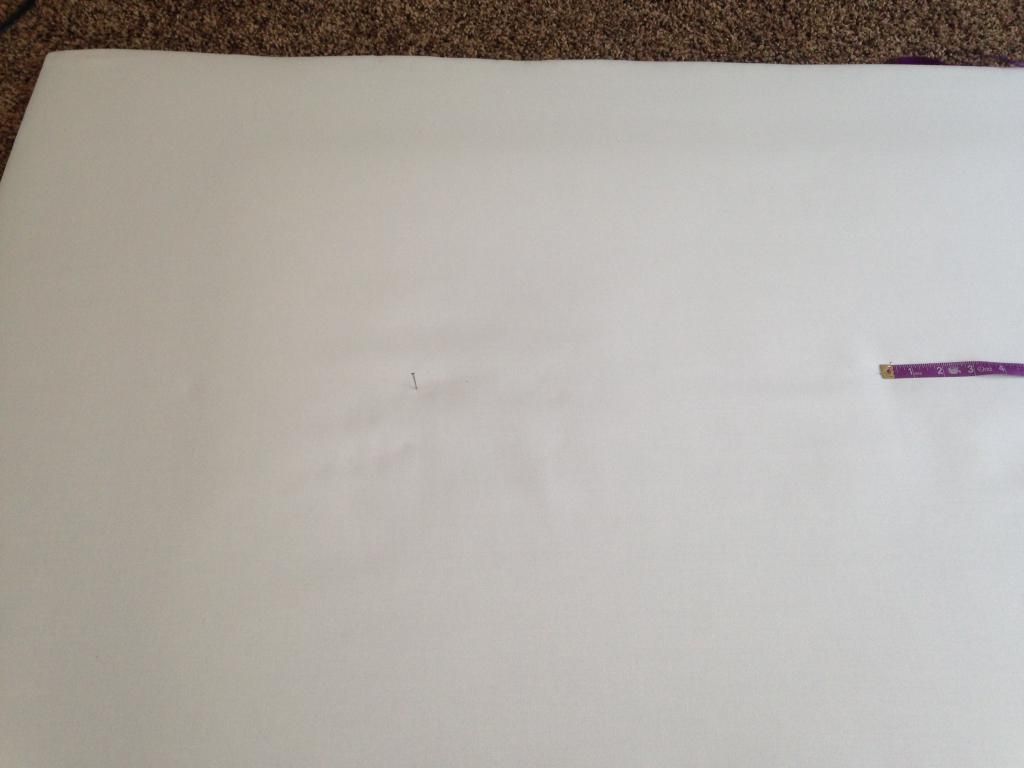
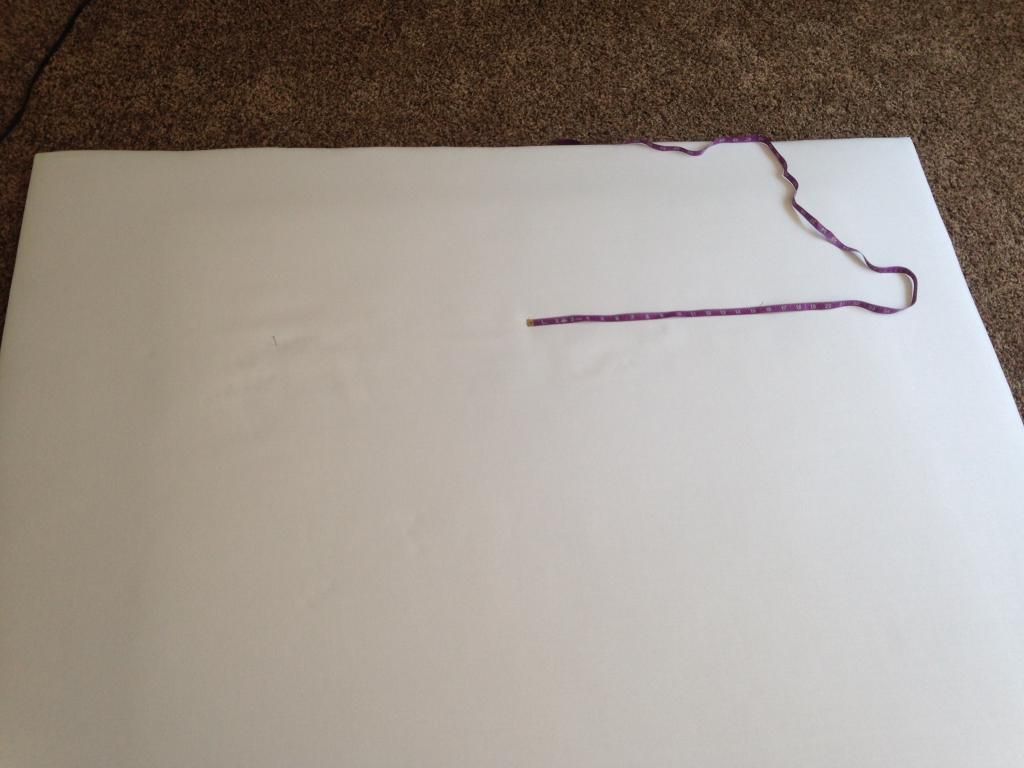
We measured and used pins to mark how far apart to staple. You staple through the fabric and padding to create the tufted look.
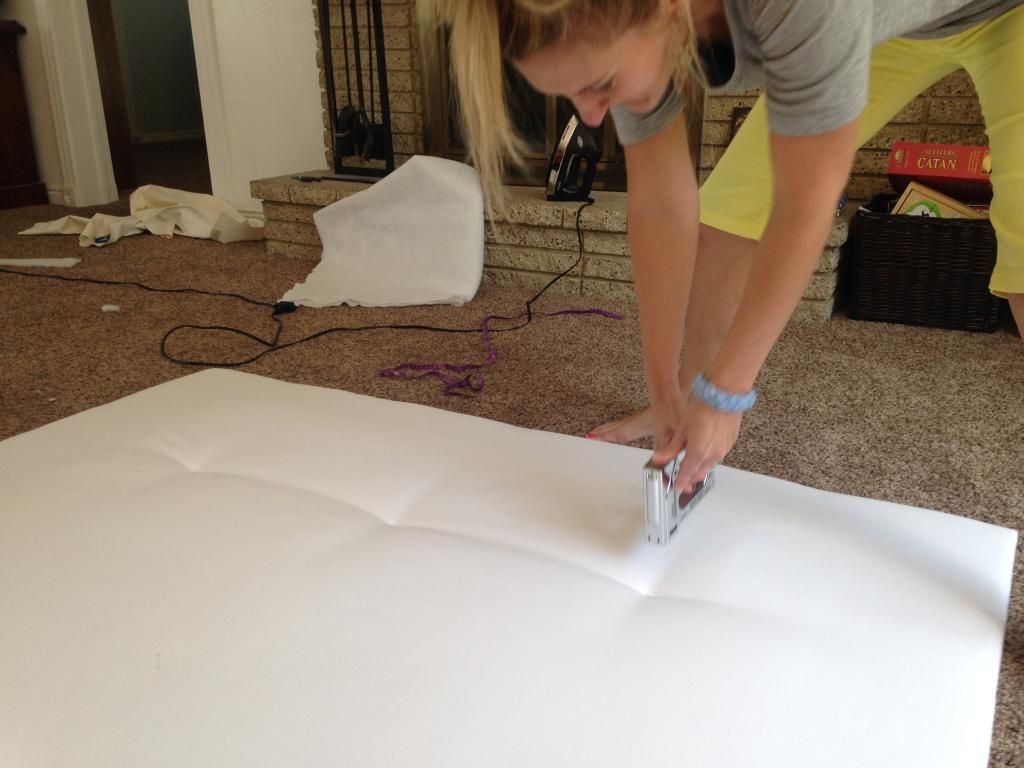
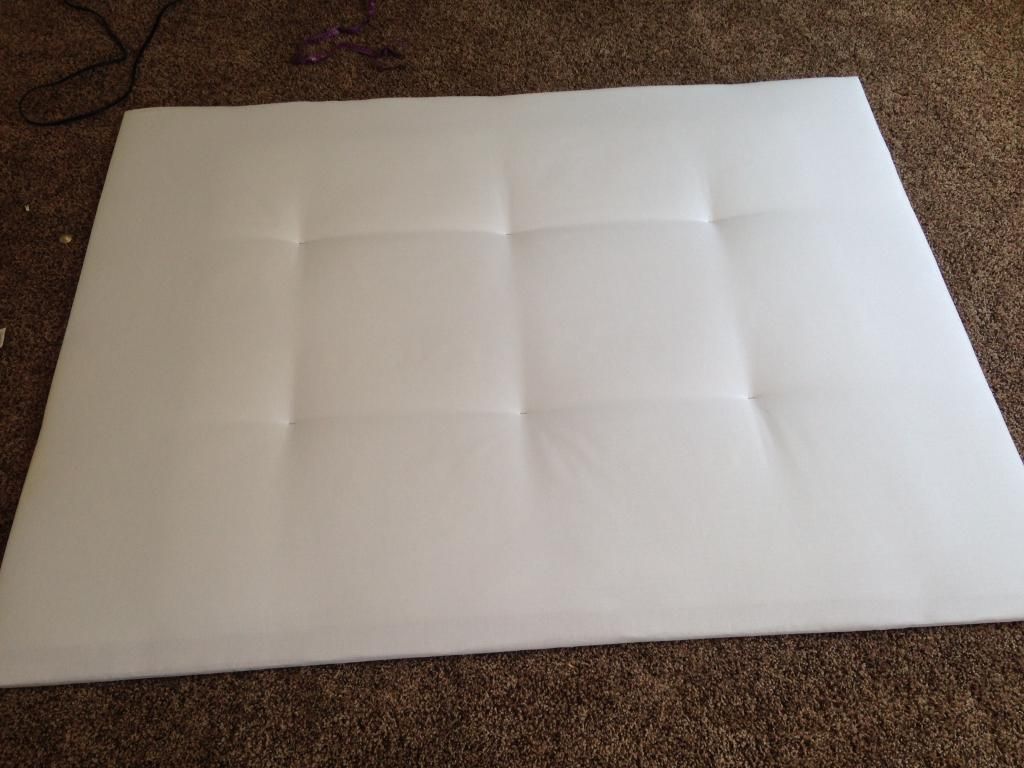

I found some buttons I liked and then hot-glued them over the staples to hide the staples/add some interest to the headboard.


0 comments